Over the last year I’ve done A LOT of papier-mâché crafts.
These are my papier-mâché tips and tricks.
Papier-mâché projects are sturdy and have a nice plaster type texture. I rarely use it on balloons, elementary school style.
Instead I use papier-mâché technique to change the change the texture of cardboard or poster board shapes for cosplay props and party decorations. (Mostly Halloween decorations. Because obviously.)
WHAT YOU’LL NEED
The Essentials:
- Newspapers (cut into 1-2 inch strips)
- TIP #1: Finally a use for those useless phone books they won’t stop delivering. I’ve found that phone book pages work just as well as newspaper and are easier to come by. One phonebook will get you through several projects and the pages torn in half and/or quarters is a GREAT for covering large surfaces!
- White Flour
- Elmer’s Glue
- Water
- Whisk
- Bowl
My Handy Suggestions:
- Latex Gloves
- Trash Bags/Plastic Drop Cloth
- Masking Tape
GETTING STARTED
Once you have your shape you should find an area you can get messy and keep messy for a few days. I personally have a large folding table that I set up in the garage when I’m in the mood to get my papier-mâché on.

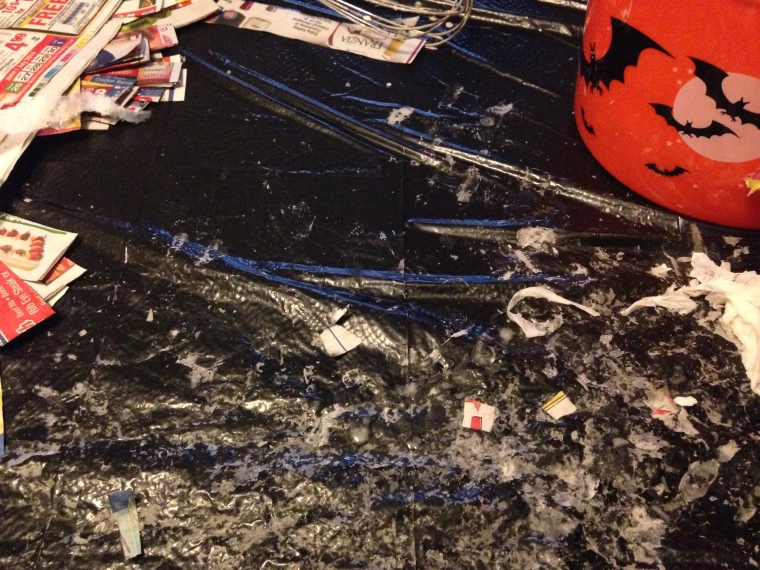
Cut open the trash bags and lay flat (or use your drop cloth) to cover your work area. Tape down a couple edges so it stays put. You’ll thank me later!
Also, tape down some plastic elsewhere (I use the floor) to have a place to lay your project out to dry. This is especially important if you’ll be working on multiple pieces.

- Tip #2: Stay Clean.
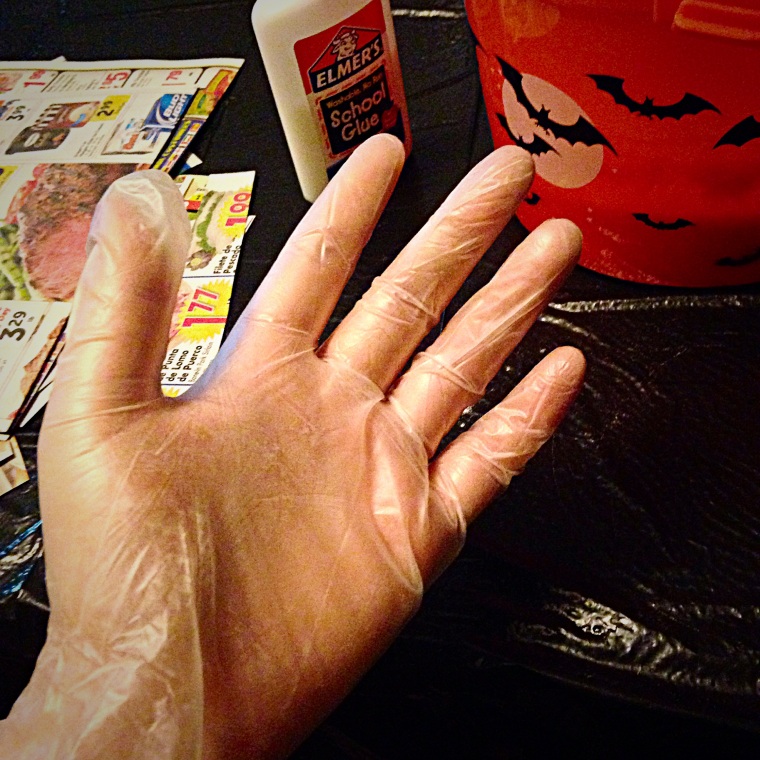
- This project is REALLY MESSY, but the good news is the flour and glue are totally washable! HOWEVER, you should wear gloves because it can get really sticky and it will be impossible to do simple things like operate a door handle and use the restroom…
- TIP #3: Crafting/Beauty Double Whammy.
- This is the perfect time to try my Miracle Cuticle Fix before you slip on your gloves. Moisturize while you craft!
INSTRUCTIONS
STEP ONE: Mix your paste.
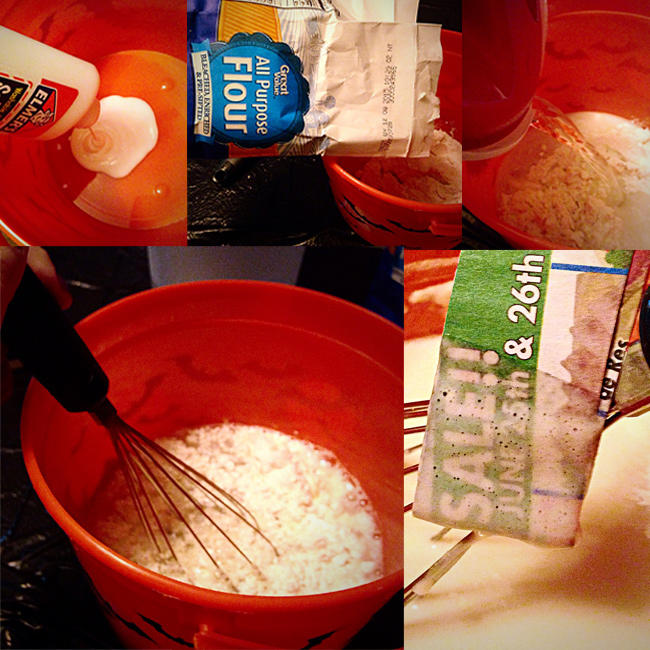
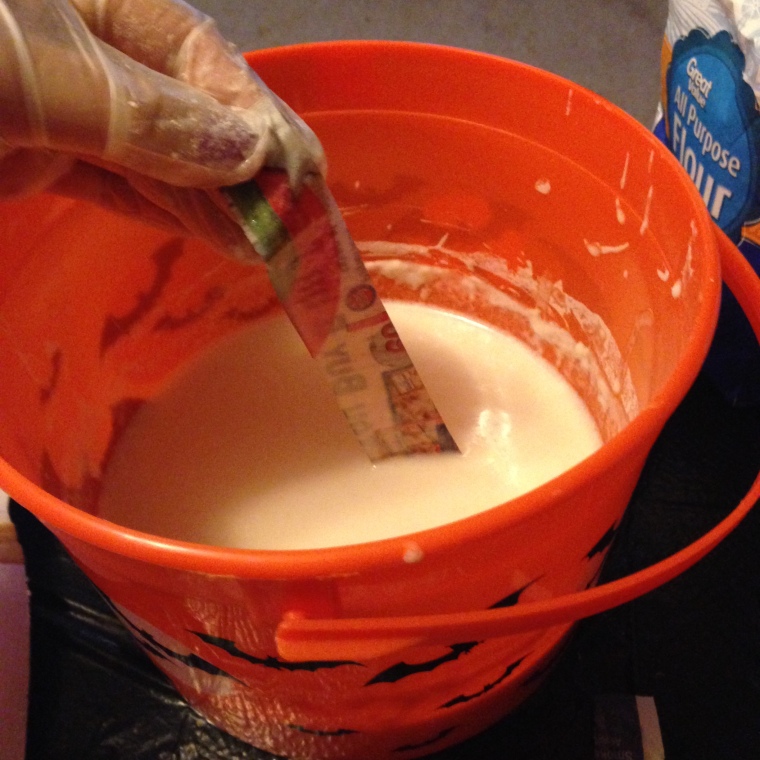
Add approximately 2 cups flour and 1-2 table spoons glue to your bowl. Slowly pour in water, whisking the mixture together until it has a smooth “soupy” texture. You want your paste to be slightly thinner than pancake batter.
NOTE: I never actually measure this mixture, I just eyeball it. The most important thing is the consistency.
STEP TWO: Dip your newspaper strips.
Gently dip your strip of newspaper or phone book page in the mixture. Use your hand to smooth the mixture over the entire piece. You want it to be covered, but not so saturated that it falls apart.
STEP THREE: Apply your strips.
Lay your paste-covered paper over your desired shape or cut out. With smooth, gentle motions smooth down the piece and press down the edges. Repeat steps two & three until all of your shape (except what is resting on the floor) is covered. Make sure your strips are overlapping generously.
STEP FOUR: Let dry.
Once you’ve covered every part not resting on the floor, let it dry to the touch and the repeat steps 2 & 3 for the part resting on the floor. When done let dry overnight.
Note: If you are working with a flat shape, let it dry to the touch and then weight down the edges so that it stays flat while it continues drying, Otherwise there will be warping…which can be a really cool effect if that’s what you’re going for.
TIP #4: Use a string for small pieces. Depending on the size of your piece you can hang it from string so that you can cover the whole thing at once (this will reduce warping and speed up your project).
(OPTIONAL) STEP FIVE: Add a second layer for sturdiness.
Repeat the whole process (Steps 1-4) laying your strips/pieces in opposing directions to the first layer. This is good to get a really sturdy piece- especially if you’re doing something hollow or something that needs to be very stiff like a weapon blade.
Once your piece is completely dry it’s ready to be painted an decorated!!!
JoJo’s Note: This post was edited 10.4.14


I’d love to see some of what you’ve done! It’s an art form that’s intrigued me for years – your tips are great. But maybe a visual step by step?
LikeLike
Hi FTPT! Consider your requests granted! Well sort of anyhow… This article is a precursor to a super-awesome-more-better project to make your own light up signs that involved PM so I thought I’d give a quick guide as reference. Pictures and the article of the light up sign will be up very soon! As for the step by step PM instructions, I have plans for a very detailed tutorial coming in the first weeks of November for Xmas/Festivus crafts, so stay tuned!
LikeLike
Hurry, lol! Sounds awesome
LikeLike
LOL! I threw a sneak peek up on my Instagram just for you FTPT! BTW, I ❤ your blog! That pegboard tip was fantastic!
LikeLike
Well to be honest, I didn’t know it would work, but if you don’t try you don’t know! So, thanks and thanks for following! Can’t wait to try papier-mâché your way!
LikeLike
Have you ever made an animal head?
LikeLike
Alas, no! But I’m kinda dying to! I was obsessed with making rustic cameo style silhouettes of woodland critters when I decorated my “woman cave” (aka, crafting/sewing/video game room). I think I really need a stag head in my life so I can paint it a glossy white!
If I were going to do this project, I would shape the head with aluminum screening from Home Depot, cover with a couple layers of papier mache. Maybe also mix a thicker, more “pasty” version of the PM paste to apply after the actual layers had dried and then seal the whole sucker with an acrylic spray.
LikeLike
I want to try! I may pick your brain if things go sideways. I’m a better DIYer than a crafter!
LikeLike
I haven’t done paper mache since I was a kid, but this is a great reminder of how fun it can be. A great weekend activity!
LikeLike
Thanks Ali! ❤
LikeLike